
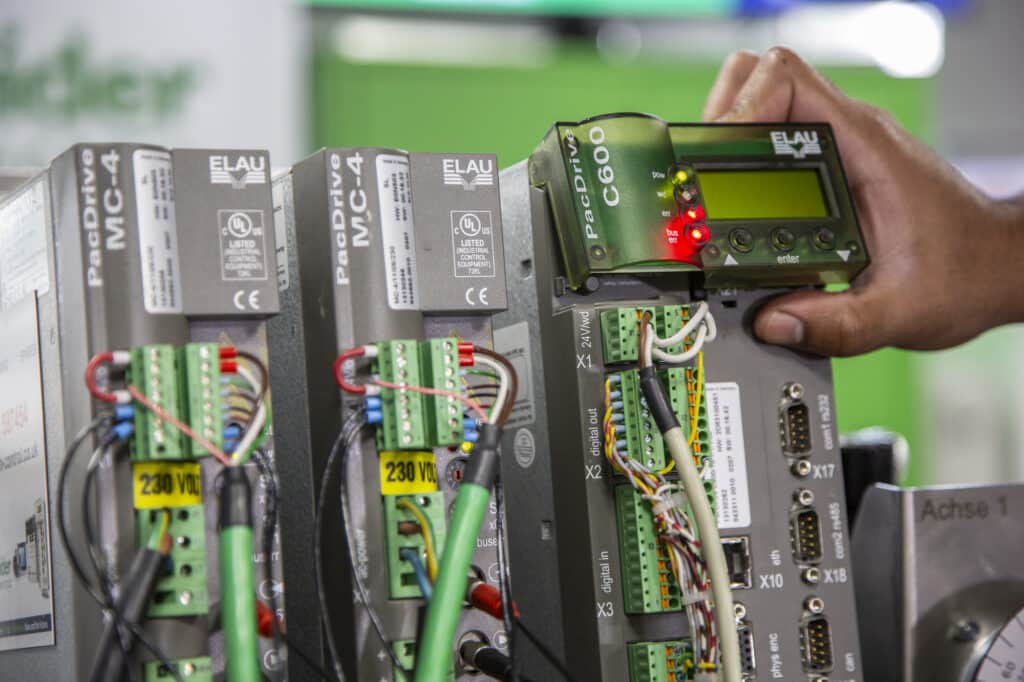
The error code is only the starting point
A MC-4 error code tells you what tripped, but it rarely tells you why.
When an I²t or a following error appears, it is natural to focus on the drive or motor which triggered it. However, this is where diagnostic time can get lost. The code identifies the event, but naming the root cause is a separate task. And on a PacDrive line, the root cause isn’t usually where the code is pointing.
So, the code should be treated as a starting point for diagnosis and then the following three steps worked through. Firstly, understand the error, then understand what the axis actually does and finally, diagnose systematically before any components are swapped over.
Step 1: Understand what the error is telling you
The error should first be read and understood before any action is taken.
Consider I²t, a thermal-load calculation. I²t is a parameter and a fault or warning is generated as a result of the I²t being too high. This could mean the axis e.g. a motor, has been drawing a level of current which could cause damage or failure. Here the I²t protects the motor, but it doesn’t diagnose the fault.
A following error (sometimes referred to as a “following limit”) is different. This is the difference between the controller set position and the actual position of the motor. A diagnostic code occurs when the following error exceeds the following limit.
Neither error code fully explains itself, however. PacDrive requires patience as its diagnostics are layered across controller, drive and motor with events being logged in sequence. The fault history registered, together with the events around the trip, tell you more than the headline error code. The first-out fault and the seconds before it matter most.
Step 2: Understand what the axis actually does
The next step is to consider what the axis is being used for.
The same code means different things on different equipment. For example, an I²t on a pick-and-place head is a different to an I²t on a continuous conveyor. One performs short, sharp, repeated accelerations, whilst the other runs continuously against a sustained load.
It helps to first picture the job. What is the normal profile? How fast, how hard, how often it accelerates and what it carries through the cycle? An indexing axis that dwells then snaps into position stresses a drive in a different way to a sealing mechanism maintaining constant pressure against film.
Know what normal looks like and the fault starts to point somewhere. A following error on a lightly loaded belt suggests certain types of causes. The same error on a jaw sealing against resistance another. The machine function therefore converts a generic code into a shortlist.
I²t: look beyond the motor or drive
Back to I²t and the temptation to immediately focus on the drive or motor.
Sometimes it can be the hardware. However, an I²t trip where the axis drew too much current for too long can be caused by a number of things upstream of the drive.
For example:
– increased mechanical load
– restriction or partial jam
– acceleration and deceleration set greater than preferred by the engineers
– a changed machine setting which nobody flagged
– worn bearings
– dry linear guide
– incorrect belt tensioning
Each will make the motor work harder to achieve the same target with the drive report the heat created as a result.
What changed when the fault occurred should also be taken into account. A trip which appears only after maximum speed is reached following a changeover, or once the line is warm, provides an indication of where to look first.
Troubleshooting errors: ask why the axis cannot follow the command
A following error is the axis saying it couldn’t keep up.
In this case the commanded and actual position has moved apart beyond the allowed window. The question to ask is what caused this gap to open. Mechanical restriction is often the obvious cause if something is physically restraining the axis. Following errors can also happen after replacing a motor as it will need to rehome. In terms of faulty feedback, this is unlikely to be the cause as it would generally be flagged as a track monitoring error.
Diagnostics will only specify which motor is affected by the following error. Ultimately it is the responsibility of the engineering team to narrow down and identify what is causing the motor to deviate from its set position.
Step 3: Work through the fault systematically
Everything needs to be put together in sequence.
- Confirm the fault: is it live or a sympton cleared on reset?
- Capture the evidence: first-out fault, fault history, diagnostic registers and the surrounding events. Capture before you power cycle or you will lose it.
- Identify the axis and its function.
- Check when and how it happens: at speed, at changeover, cold, warm, every cycle or just occasionally?
- Consider the context: is it mechanical or electrical? Load path, guides, belts, cabling, connectors, feedback.
- Compare associated faults: separate the original cause from the secondary alerts which are thrown after the stop.
- Isolate the likely cause: only now should you consider swapping out and even then, only against evidence.
Follow everything in sequence and the answer will often become apparent before step seven.
Avoid fault-finding through swapping parts
It should be remembered that swapping parts is not diagnosis.
For example, if after installing a new MC-4 drive the line starts running again it’s tempting to consider the issue resolved. However, if the real cause was a tightening mechanism or a drifting setting, only the symptom would have been addressed meaning the fault will likely return.
PacDrive M hardware can make this an expensive process. The platform is end-of-life and properly tested, compatible spares are becoming scarcer. Every drive or motor used due to guesswork is one which may not be available when a genuine failure occurs. This means it is vital to identify the cause first and only swap parts after.
Tools, knowledge and spares
It helps to ask these three questions in relation to your line:
- do you have the tools to see what the error is actually reporting? Machine Analyser® can help here by surfacing the fault sequence and read-only drive data.
- do you have the requisite PacDrive knowledge to read and understand what it means for a specific machine?
- and lastly, if the hardware really has failed, do you have tested, compatible spares ready to fit?
Once you have answers to all three the error code ceases being the problem. Instead, it reverts to being the starting point.
Conclusion
From this it can be seen that fault codes should be viewed as diagnostic indicators rather than definitive answers. Whilst the error may identify the axis involved and the condition which triggered the stop, the true cause often lies elsewhere. Understanding the function of the axis, reviewing fault history and following a structured troubleshooting process is the way to go. This is far more effective than replacing parts based on assumption. The error code should be treated as the beginning of the investigation by engineers. By doing this downtime will be reduced, unnecessary component changes avoided and the root cause reached more quickly and confidently.